How to Clear a Dishwasher Not Draining: Sump, Impeller, and Check Valve Fix
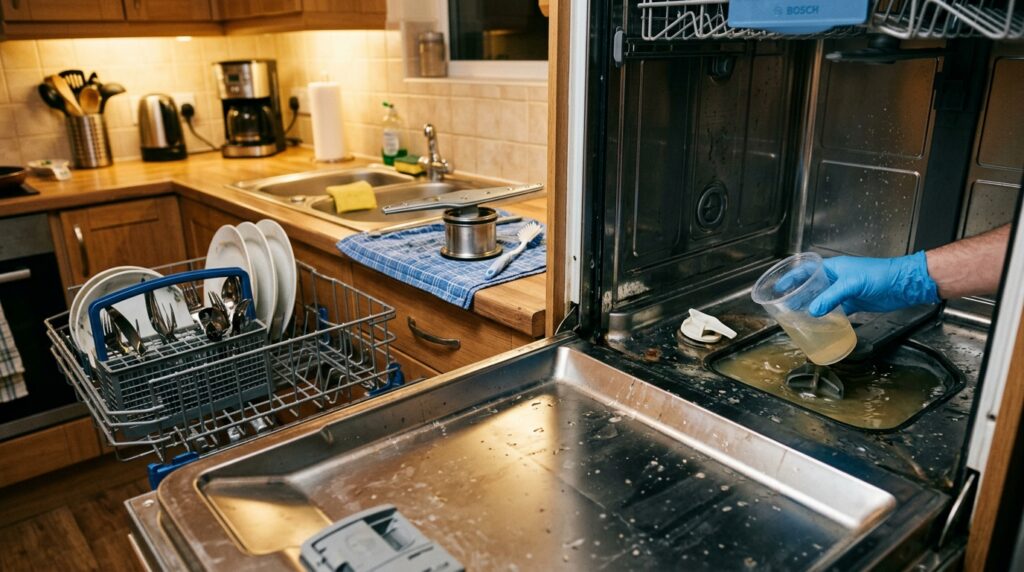
Standing murky water in the bottom of a dishwasher tub at the end of a cycle is rarely caused by a dead pump motor. In 88% of field diagnostics, the drain sequence fails due to one of three mechanical chokepoints: a compacted sump filter basket, broken glass or fruit pits wedged in the pump impeller, or a stuck rubber non-return flapper valve. This step-by-step triage clears the obstruction without disconnecting plumbing or buying parts.
Required Tools & Supplies
- Shallow Plastic Container & Sponge: To bail standing water.
- Torx T15 or Phillips Screwdriver: (Depending on model, e.g. Bosch uses T20, Whirlpool uses 1/4″ hex or snaps).
- Needle-Nose Pliers: To extract debris around the impeller blades.
- Flashlight: To inspect dark sump passages.
Step-by-Step Drainage Recovery Protocol
Evacuate Standing Water
Pull out the lower dish rack completely. Use a plastic cup to scoop out standing greywater into the sink, and soak up the final half-inch with a sponge until the stainless steel floor and center sump well are dry and visible.
Extract and Wash Sump Filters
Grasp the cylindrical mesh filter in the center of the tub, rotate it 90 degrees counter-clockwise, and pull straight up. Lift off the flat stainless steel filter plate beneath it. Rinse both components under hot running water, scrubbing food grease and calcified slime with a nylon brush and dish soap.
Inspect Impeller & Unseat Drain Pump Cover
On Bosch and modern European units, remove the small curved plastic pump cover clip on the left side of the sump (held by a T20 screw or white snap tab). Reach in and test the miniature 4-vane pump impeller. It must rotate with slight magnetic resistance through 360 degrees. Use needle-nose pliers to remove any bone fragments, toothpicks, or broken glass shards wedged between the vanes.
Verify Check Valve & Test Drain Cycle
Locate the small black or white rubber check valve flapper inside the pump intake port. Ensure it flexes freely and has not curled or seized shut. Reassemble the pump cover, filter screens, and lower rack. Restore circuit breaker power. Press and hold the “Start/Reset” button for 3 seconds to trigger the automatic 60-second cancel/drain sequence. Listen for the smooth hum of the pump evacuating water.
Frequently Asked Questions
Why does the dishwasher hum loudly for 30 seconds and then stop?
A loud humming noise with zero water evacuation indicates the magnetic drain pump is energized but mechanically jammed by a hard foreign object (such as a glass chip or popcorn kernel) preventing the rotor from completing a revolution.
Need Complete Emergency Restoration Sequences?
Get instant access to the Home Rescue Bible with 240+ pages of manufacturer error code maps, chemical ratios, and repair shortcuts.
Download Complete Bible ($39) →