⚡ Quick Answer: Can You Repair Rocker Panel Rust Without Welding?
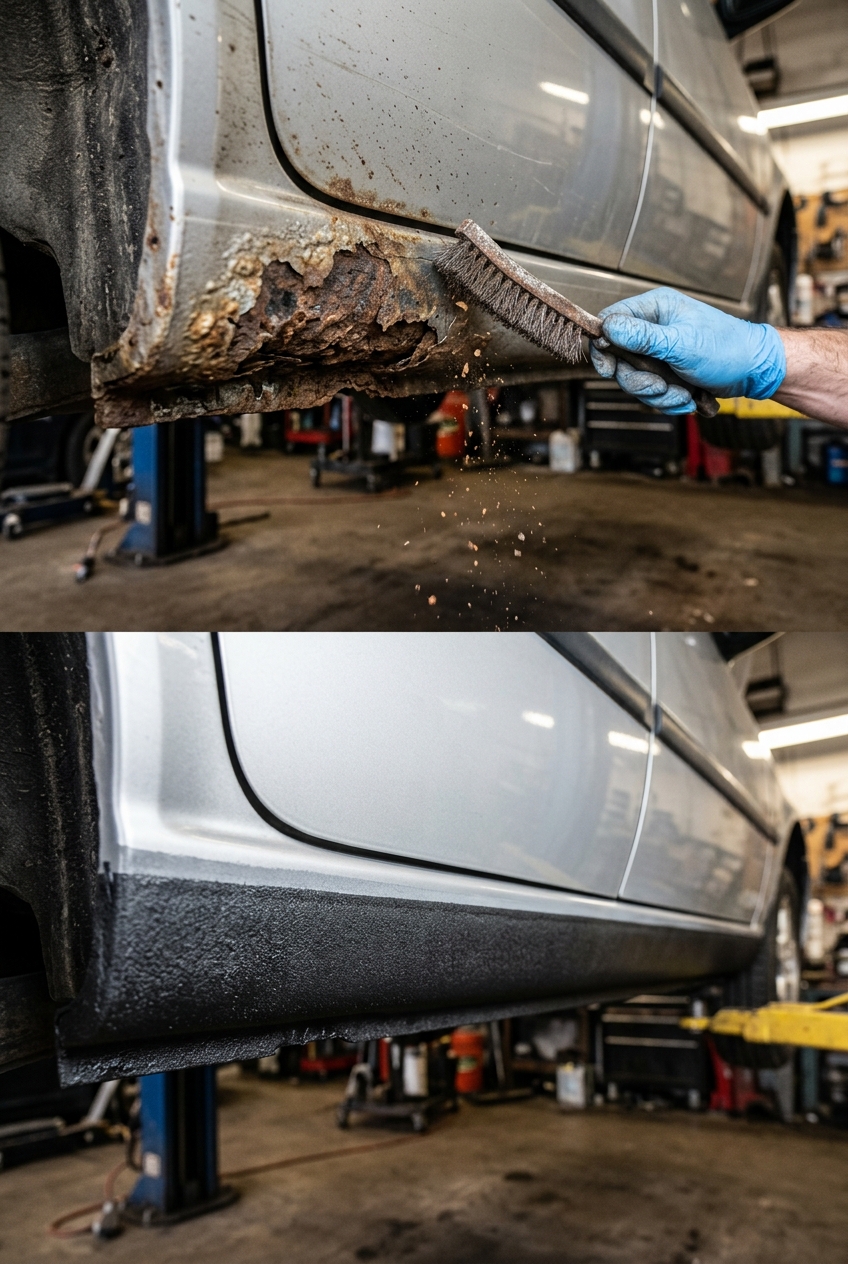
Yes, absolutely. Non-structural automotive rocker panel rust can be permanently arrested and cosmetically restored without welding or professional body shop equipment costing $1,200+. The proven procedure requires removing loose iron oxide scale with a coarse wire wheel, applying a concentrated phosphoric acid chemical converter to transform microscopic pitting rust into an inert, black ferric phosphate protective barrier, bridging perforations with aluminum backing mesh and metal-reinforced epoxy filler (Bondo Glass), and sealing the exterior with a 2K activated epoxy primer and textured stone-guard urethane coating. When performed correctly, this chemical-mechanical repair seals moisture out indefinitely and passes state safety inspections.
3.5 Hours
$68 (Saves $950)
Intermediate DIY
Respirator & Goggles
Automotive rocker panels are located along the lower perimeter of your passenger cabin, running directly between the front and rear wheel wells underneath your doors. Because of their vulnerable physical position, rocker panels endure constant abrasion from gravel, road tar, water spray, and aggressive winter de-icing chemicals such as sodium chloride, magnesium chloride, and calcium chloride. Once stone chips penetrate the factory e-coat and clearcoat, electrolytic corrosion begins almost immediately, eating steel from the inside out and turning pristine body panels into crumbling orange scale.
When owners discover bubbling paint or crunchy perforations along their rocker panels, standard body shop quotes usually start between $900 and $2,400 per side. Technicians insist on cutting out the entire rocker section with a plasma cutter, ordering factory stamped replacement slip-on panels, and welding new steel into place. For older daily drivers, commuter trucks, and winter workhorses, paying thousands of dollars for full structural metal fabrication rarely makes financial sense. Fortunately, if your inner structural rocker box and jack pinch welds remain solid, outer cosmetic skin rust can be permanently arrested using industrial chemical conversion and composite reinforcement.
🛠️ Required Tools & Materials Checklist
- 4.5-inch angle grinder or variable-speed drill with knotted steel wire cup wheel
- 80-grit, 180-grit, and 320-grit silicon carbide automotive wet/dry sandpaper
- Industrial phosphoric acid rust converter (Ospho, Skyco, or Permatex 81773)
- Pure acetone or wax and grease remover solvent for chemical degreasing
- Self-adhesive perforated aluminum body patch mesh or fiberglass woven cloth
- Short-strand metal-reinforced fiberglass filler (Bondo Glass or Evercoat Tiger Hair)
- Flexible plastic body filler spreaders and mixing mixing palette board
- 2K activated epoxy primer spray can (SprayMax 2K with internal hardener valve)
- Heavy-duty textured rocker guard / rubberized stone-shield aerosol coating
- NIOSH-approved P100 organic vapor half-mask respirator, nitrile gloves, and face shield
⚠️ Safety & Structural Integrity Boundary
Rocker panels are integral structural components on modern unibody vehicles, providing crucial side-impact intrusion resistance and longitudinal chassis stiffness. This non-welding DIY procedure is strictly engineered for outer cosmetic sheet metal, pinhole perforations, and surface scale. Do NOT use this method if the bottom pinch weld (where you place the factory tire jack) or inner structural unibody box is completely rotted through. In those severe cases, structural replacement steel must be welded by a certified frame specialist.
The Science of Automotive Corrosion: Why Paint Over Rust Always Fails
Understanding why traditional touch-up paint fails within weeks requires understanding the electrochemistry of oxidation. Iron oxide (Fe2O3) is not simply discolored steel; it is an active galvanic reaction. Steel oxidizes when exposed to oxygen and moisture, creating microscopic fissures that absorb humidity from the surrounding atmosphere like a porous sponge. If you simply apply spray paint, standard body filler, or rubberized undercoating over existing surface rust without deep chemical conversion, moisture and trapped oxygen remain sealed beneath the coating. The galvanic cycle continues unabated under the surface, causing the metal to delaminate and bubble outward within 60 to 90 days.
To stop corrosion permanently, you must eliminate iron oxide at the molecular level. Phosphoric acid (H3PO4) chemically reacts with hydrated ferric oxide, transforming it into iron(III) phosphate (FePO4), also known as ferric phosphate. This newly formed organometallic compound is dense, insoluble, non-porous, and inert. It turns the treated metal jet-black, establishing a completely stable foundation that halts oxygen migration and chemically bonds with high-adhesion epoxy primers.
Step-by-Step Execution: Non-Welding Rocker Panel Restoration
Begin by washing the entire lower rocker panel and wheel arches with hot soapy water and degreaser to remove all road grease, tar, and silicone residues. Allow the metal to dry completely. Put on your P100 respirator, eye goggles, and heavy leather work gloves.
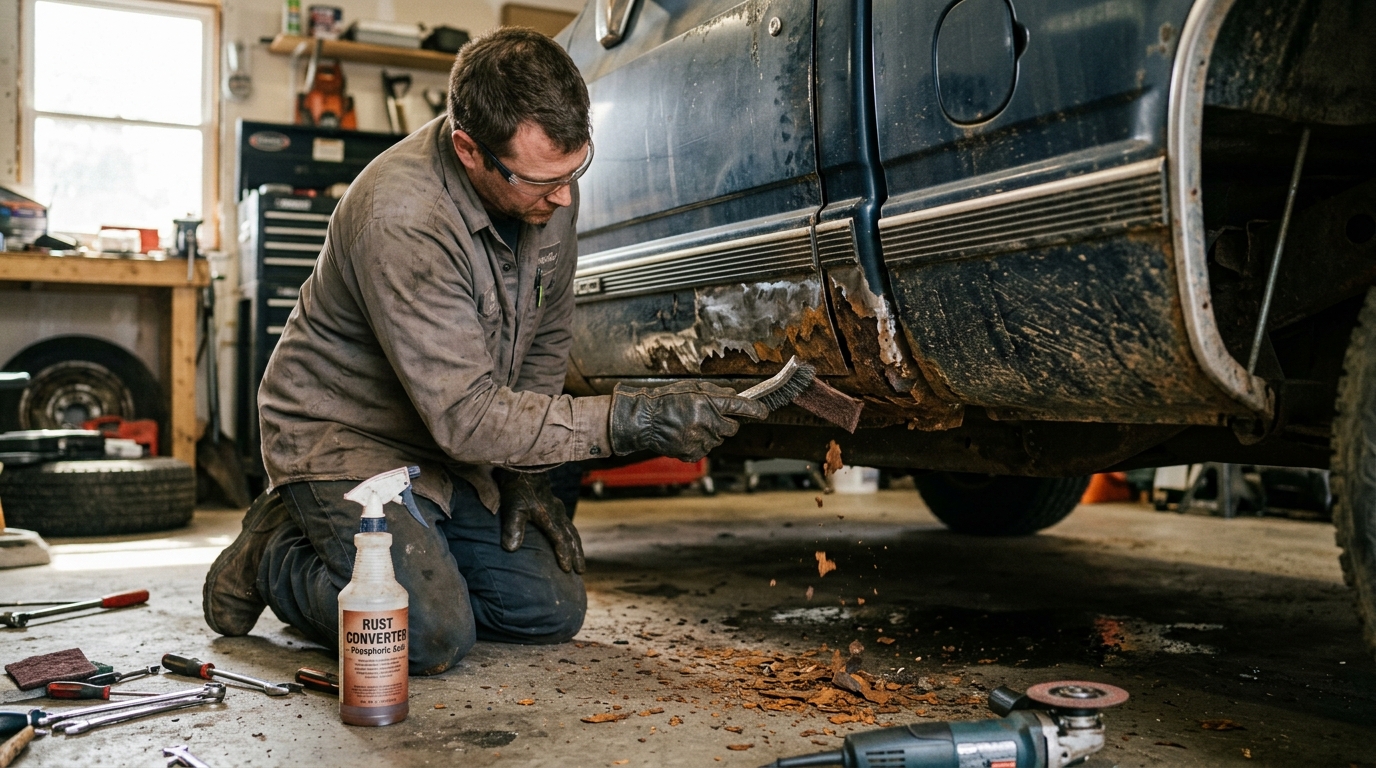
Chuck a knotted steel wire cup wheel into your 4.5-inch angle grinder or heavy drill. Grind along the entire affected rocker panel, running the wheel at moderate speed to strip away blistered paint, flaking rust scales, and factory undercoating. Apply firm pressure into any soft spots. If the metal crumbles into jagged holes, do not panic—continue grinding until you strike bright, shiny, solid structural steel. Feather back sound paint at least 2 inches around the perimeter of every hole with 80-grit abrasive paper to ensure smooth mechanical tooth for subsequent filler adhesion.
Thoroughly vacuum all rust dust and debris from the work area, then wipe down the bare metal with pure acetone or denatured alcohol. Pour liquid phosphoric acid rust converter into a chemical-resistant trigger spray bottle or apply it generously with a natural bristle chip brush.
Saturate every microscopic pit, seam, and cavity of the affected steel. Ensure the converter penetrates inside any perforated holes to coat the back side of the metal skin. Allow the chemical solution to dwell for a minimum of 30 minutes. As the acid reacts with residual microscopic iron oxide, you will observe the orange rust turning dark plum and finally pitch black. If any orange spots remain after 45 minutes, apply a second light coat. Allow the metal to cure for 12 to 24 hours until the surface is rock-hard and completely dry. Gently scuff the cured black ferric phosphate layer with 180-grit sandpaper to remove surface haze, followed by a dry lint-free wipe.
When holes exist in non-structural rocker panels, ordinary lightweight body filler (Bondo) will fail because it absorbs moisture and cracks under vibration. Instead, you must bridge the void with structural backing and metal-reinforced fiberglass filler.
Cut a piece of self-adhesive aluminum repair mesh or heavy woven fiberglass cloth roughly 1 inch larger than the hole. Insert the mesh through the hole or contour it tightly across the back side of the opening, pressing the edges firmly against sound inner metal. In a clean mixing palette, scoop a golf-ball-sized portion of short-strand fiberglass-reinforced filler (Bondo Glass). Add a 1.5-inch ribbon of red cream hardener (roughly a 50:1 ratio) and knead the mixture thoroughly until a uniform green color is achieved without marbling.
Using a flexible plastic spreader, press the fiberglass filler firmly into and across the mesh backing. Force the filler through the mesh openings to create a mechanical anchor on the back side. Build the repair slightly higher than the surrounding body panel (approximately 1/16th of an inch) to allow for contour shaping, working quickly as fiberglass filler begins gelling within 6 to 8 minutes.
Allow the fiberglass filler to cure for 25 to 35 minutes until it is cool to the touch and cannot be dented with a fingernail. Wrap an 80-grit sanding sheet around a semi-rigid rubber sanding block. Sand the cured patch using steady diagonal cross-hatch strokes (45-degree angles) to knock down high ridges and blend the patch flush with the factory rocker contours.
Once the shape matches the vehicle’s body profile, inspect the patch for minor pinholes or surface imperfections. Mix a small dollop of premium polyester finishing glaze (such as Evercoat Metal Glaze) and skim-coat the entire repair area. Let cure for 20 minutes, then sand progressively with 180-grit sandpaper, finishing with 320-grit wet/dry paper until your hand cannot feel any transition between the repaired patch and the original sheet metal.
Mask off the upper vehicle doors, wheel fenders, and vehicle undercarriage using automotive masking paper and clean-release blue painter’s tape. Wipe the sanded area with wax and grease remover solvent, followed by a tack cloth to collect lint.
Activate your 2K epoxy primer can by pushing the red button on the bottom of the aerosol canister to release the internal isocyanate hardener, then shake vigorously for 2 full minutes. Spray two medium-wet coats of 2K epoxy primer over the repair, allowing 10 minutes flash time between coats. The 2K chemical cross-linking provides an impermeable moisture vapor barrier that single-stage rattle-can primers cannot replicate.
After allowing the epoxy primer to cure for 60 minutes, apply two to three even coats of textured automotive rocker guard (or heavy rubberized gravel-guard). Spray from a distance of 10 to 12 inches to replicate the factory textured finish. The textured urethane provides exceptional impact resistance against highway stone strikes, seamlessly hiding any microscopic bodywork imperfections and providing lifelong protection.
Stop Paying $800+ for Simple Auto Body & Household Repairs
Rocker panel rust is just one of 49 costly household and vehicle emergencies demystified in The Home Rescue & Restoration Bible by master restorer Yolo Fisher. Learn how to inspect vehicle chassis corrosion, arrest driveway salt damage, service HVAC systems, and preserve household equity without paying predatory contractor service calls.
Preventative Maintenance: Internal Cavity Waxing & Drain Inspection
Once your external repair is complete, you must address the internal moisture that caused the rust in the first place. Vehicle rocker panels are hollow steel boxes designed with tiny drain slots stamped along the bottom pinch weld. Over years of driving, road dust, fallen autumn leaves, and pine needles accumulate inside the rocker cavity, clogging these drain holes. Trapped rainwater and condensation sit stagnantly inside the rocker box, rusting the metal from the inside out.
Locate the rubber grommets or inspection plugs inside the rocker panel (often accessible along the inner door sill or underneath the rocker). Pop these plugs out with a flat-head screwdriver. Unclog the bottom drain slots using a plastic zip-tie or soft wooden toothpick to restore free water drainage. Finally, insert the 360-degree extension wand of a cavity wax aerosol can (such as 3M Rust Fighter-I or Fluid Film) deep into the rocker cavity and spray generously as you slowly withdraw the tube. This lanolin or paraffin-based wax coating displaces internal condensation and prevents new oxidation from initiating for up to 3 years.
Save This Project To Your DIY Automotive Board