⚡ How Do You Fix a Kitchen Faucet Leaking from the Spout or Handle?
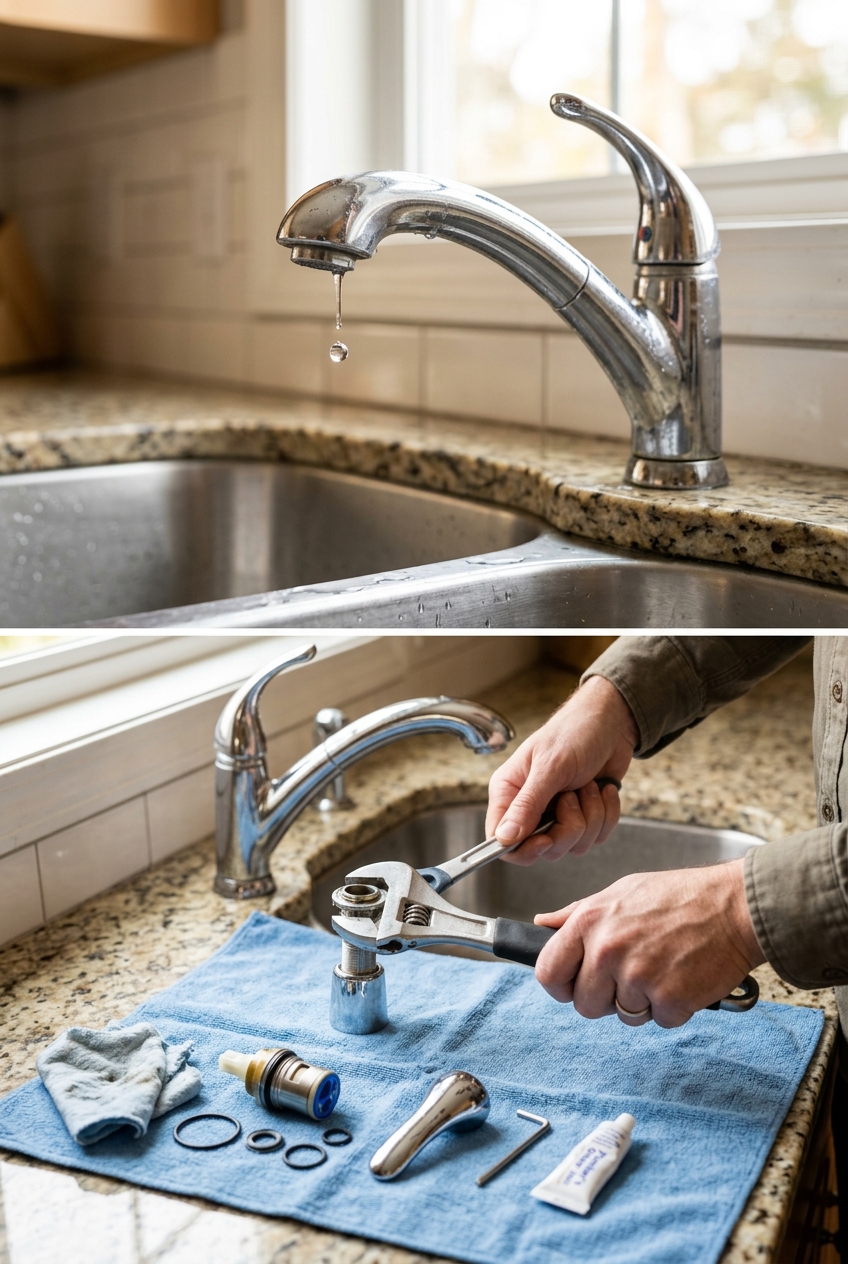
To fix a dripping single-handle kitchen faucet: 1) Turn off the hot and cold water shutoff valves under the sink; 2) Pry off the decorative indicator cap on the handle and loosen the internal hex setscrew with a 3/32-inch Allen wrench; 3) Pull off the handle and unscrew the chrome dome collar; 4) Use an adjustable wrench to remove the brass retaining locknut; 5) Pull out the worn cartridge valve, match the model number (Moen, Delta, Kohler, or Pfister), coat the new cartridge rubber O-rings with food-grade silicone plumbers grease, insert into the keyed alignment slots, and reassemble.
A steady drip from your kitchen faucet wastes 3,000 gallons of water a year and rots subfloors. Learn how to replace a worn ceramic disc cartridge valve in 30 minutes with basic hand tools. Below is the exact, step-by-step field guide tested and verified by the TidyUp Daily laboratory team.
📋 Required Materials, Tools & Reagents
-
✓
Replacement OEM or universal ceramic disc cartridge (match your brand: Moen 1225/1255, Delta Diamond Seal, Kohler GP1017426) -
✓
Tube of 100% pure food-grade silicone plumbers faucet grease -
✓
Adjustable wrench (8-inch or 10-inch smooth-jawed) -
✓
Set of SAE and metric hex key Allen wrenches (specifically 3/32″ and 1/8″) -
✓
Small flathead precision screwdriver or utility knife blade -
✓
Distilled white vinegar and old toothbrush for mineral descaling -
✓
Clean shop towels and bucket
⚠️ Plumbing Isolation & Drain Plug Safety
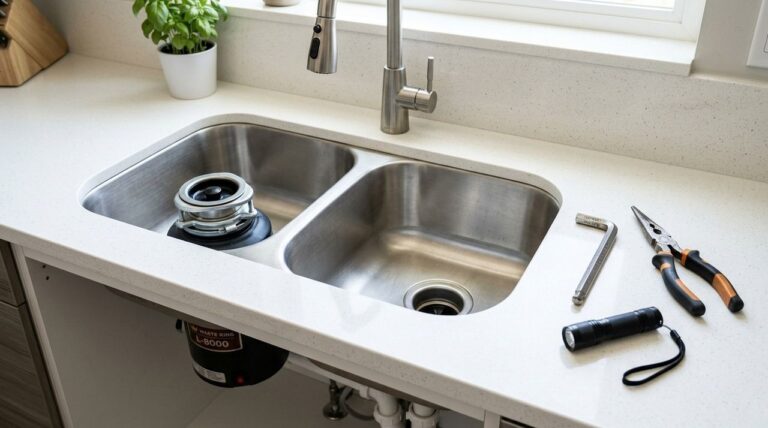
Before loosening a single screw on the faucet, always shut off both hot and cold angle stop valves beneath the sink and open the faucet lever to relieve internal pressure. Cover the sink drain opening with a microfiber towel. Small setscrews and brass retaining clips easily fall down into the garbage disposal or P-trap, turning a 20-minute repair into an hour-long plumbing retrieval.
The Step-by-Step Field-Tested Protocol
Isolate the Water Supply and Relieve Static Pressure
Open the cabinet beneath the kitchen sink. Locate the two oval valve handles on the hot and cold supply pipes connected to the faucet braided risers. Turn both valves clockwise until fully closed. Lift the faucet handle above the counter to the full-on position; residual water will flow for 3 seconds and cease. If water continues to drip persistently, your home shutoff valve is passing water, and you must isolate the main house valve.
Access and Loosen the Concealed Handle Setscrew
Examine the faucet handle body. Manufacturers conceal the securing screw behind a small red/blue plastic hot-cold index button or a chrome rubber plug located beneath the handle lever or on its backside. Use a utility knife blade or precision flathead screwdriver to gently pop the plug out. Peer inside with a flashlight: you will see a small Allen hex screw (typically 3/32″ or 1/8″). Insert the appropriate Allen wrench and rotate counter-clockwise 3 to 4 turns. You do not need to remove the screw completely. Pull the faucet handle straight upward off the brass valve stem.
Remove the Decorative Dome Cap and Brass Retaining Locknut
Beneath the handle sits a rounded decorative dome cap. Unscrew this cap counter-clockwise by hand. If mineral scale has bonded the threads, wrap an old rubber jar gripper around the cap for leverage. Underneath the dome, a large brass retaining nut secures the cartridge inside the valve housing. Fit an adjustable smooth-jawed wrench across the flat edges of the nut and rotate counter-clockwise to remove it. Inspect the brass threads for calcification.
Extract the Cartridge Valve and Clean the Brass Bore
Grasp the top stem of the cartridge with your fingers or needle-nose pliers and pull straight upward. (On Moen faucets, remove the brass U-shaped retaining clip first with a flathead screwdriver). Note the orientation of the alignment tabs or hot-water limiter notch. Shine a flashlight down into the empty brass faucet cavity: you will see the circular water inlet ports. If hard water mineral scale or grit is present, dip a toothbrush in warm distilled white vinegar and scrub the brass seating surfaces clean to ensure a leak-proof seal.
Lubricate and Install the New Ceramic Cartridge
Take your replacement cartridge and apply a light coat of 100% food-grade silicone plumbers grease across the rubber base gaskets and perimeter O-rings. Plumbers grease prevents gasket twisting and ensures butter-smooth lever movement. Align the cartridge indexing tabs with the matching molded slots in the brass faucet body. Press the cartridge down until it seats flush. Thread the brass locknut back on and snug it down firmly with your wrench (do not over-tighten, which can crack ceramic discs). Reinstall the dome cap, attach the handle, tighten the hex setscrew, and turn water valves back on slowly.
🔬 How Modern Ceramic Disc Faucets Eliminate Wear and Tear
Older compression faucets relied on malleable neoprene rubber washers compressed against a brass seat to stop water flow. Over time, friction, water hammer pressure, and dissolved chlorine degraded the rubber, causing frequent dripping. Modern premium faucets employ two precision-machined ceramic discs made of aluminum oxide (alumina ceramic, rating 9 on the Mohs hardness scale—second only to diamond). The upper disc rotates with the handle, while the lower disc remains stationary inside the cartridge housing. Both discs are diamond-ground and polished to near-atomic flatness. When the faucet is shut off, the polished surfaces shear together with zero clearance, utilizing surface tension to form a hermetic water seal. Leaks occur only when micro-scale mineral debris scratches the ceramic surfaces or when perimeter EPDM rubber seals deform from age.
Master 85+ Non-Toxic Repairs & Save Over $4,000 in Service Calls
This protocol is excerpted from The Home Rescue Bible (2026 Edition). Get instant access to full chemistry formulas, appliance diagnostic wire schematics, and plumbing bypass trees.
Frequently Asked Questions
How do I identify which cartridge replacement to purchase?
Look for the manufacturer brand name stamped on the faucet base or spout collar (e.g., Moen, Delta, Kohler, Pfister, American Standard). If the model number is unknown, remove the old cartridge and take it to your local hardware store to match the exact length, alignment tabs, and spline tooth count.
Can I use standard petroleum jelly (Vaseline) instead of plumbers grease?
Never use petroleum jelly on plumbing seals. Petroleum hydrocarbons degrade and swell synthetic EPDM and nitrile rubber O-rings, leading to catastrophic leaks within months. Always use 100% pure silicone plumbers grease certified for potable water.
Why is my faucet leaking from the base of the spout rather than the tip?
Leaking around the swivel base of the faucet spout indicates that the spout O-rings (located on the outside of the brass body underneath the swivel collar) have worn out. Remove the spout, replace the two rubber O-rings, and coat them in silicone grease.
📌 Pin This Field Guide to Your Home Board